EN
A new bottling project may seem simple: select a filler, add conveyors, and start producing. In practice, a water bottle plant machine works only when the water source, bottle, cap, sanitation plan, and downstream handling fit together. The useful order is to define operating conditions, compare configurations, and verify the line.
Evaluate the water bottle plant machine as a production system, not a stand-alone filler. Actual output depends on changeovers, bottle stability, cap feeding, inspection, accumulation, and cleaning time. This checklist turns an inquiry into specifications that can be checked.
1. Start with the water and the product definition
Before comparing a water bottle plant machine, document the source water, treatment process, target product, and local requirements. Is it still water, mineral water, flavored water, or carbonated? Does it need ambient filling, hot filling, or another hygienic process? Those answers affect treatment, pipework, filling, sanitation, and validation.
For a U.S. project, 21 CFR Part 129 is a relevant example because it applies good manufacturing practice criteria to drinking-water processing and bottling. Other markets may use different rules, so identify the applicable standard before specifying a water bottle plant machine.
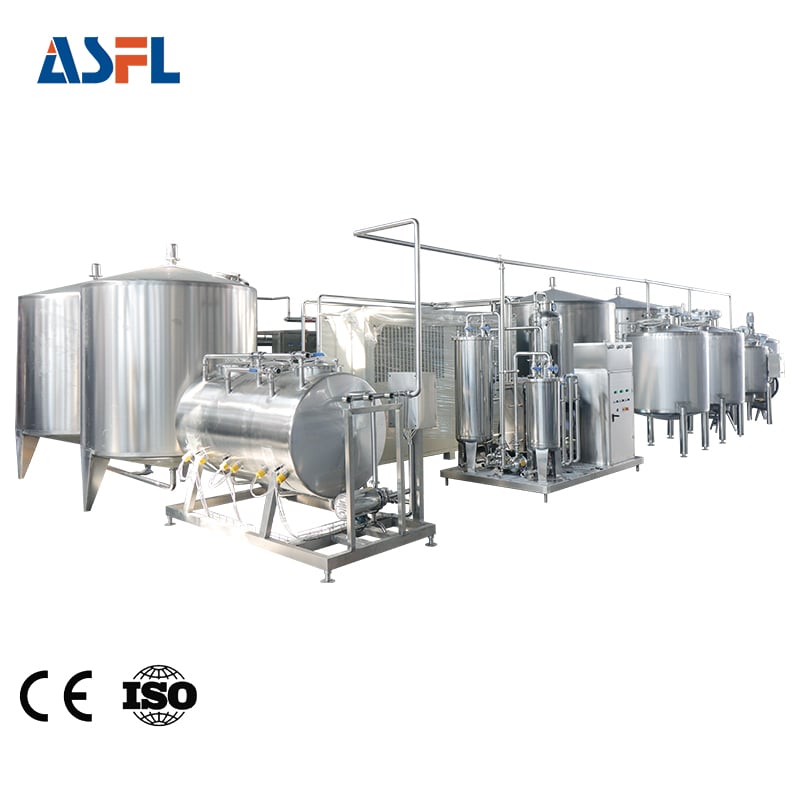
Ask for a flow diagram from source or storage through treatment, finished-water storage, filling, capping, inspection, packing, and dispatch. A water bottle plant machine quote is easier to assess when each connection point and supplier responsibility is visible.
2. Define the bottle, cap, and pack formats
A water bottle plant machine is not automatically suitable for every PET bottle simply because the neck finish appears similar. Provide bottle drawings, neck finish details, height, diameter, base geometry, label area, cap drawing, and carton or shrink-pack requirements. Include the full format range you expect to run in the next several years, not just the launch SKU.
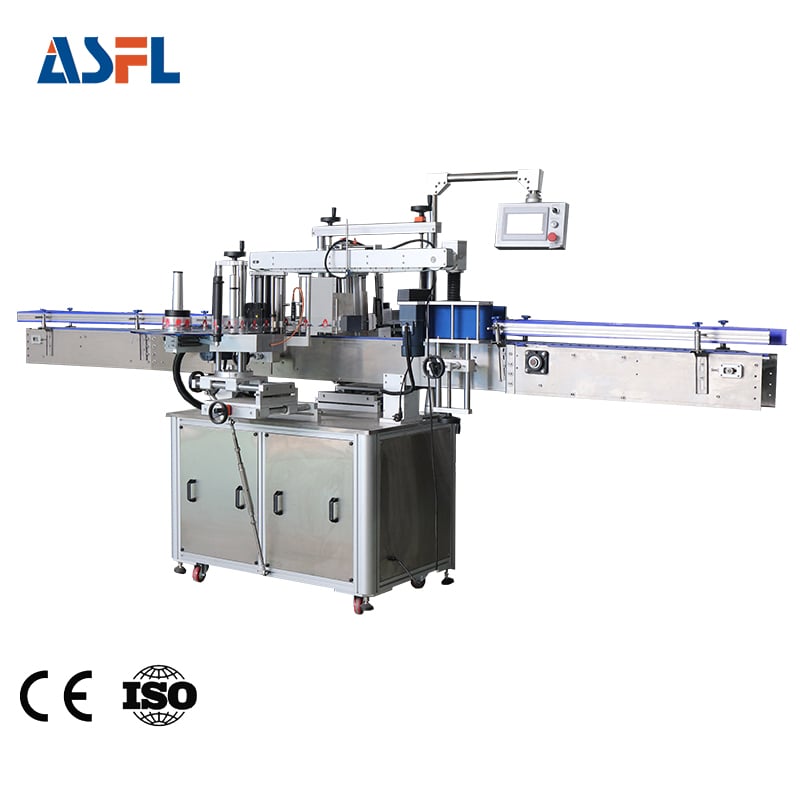
Ask which parts of the water bottle plant machine change with each format: star wheels, guide rails, clamps, cap-chute settings, label tooling, sensors, and packer adjustments. Request a changeover list and the spare parts for each approved bottle. This turns “multi-format” into a reviewable plan.
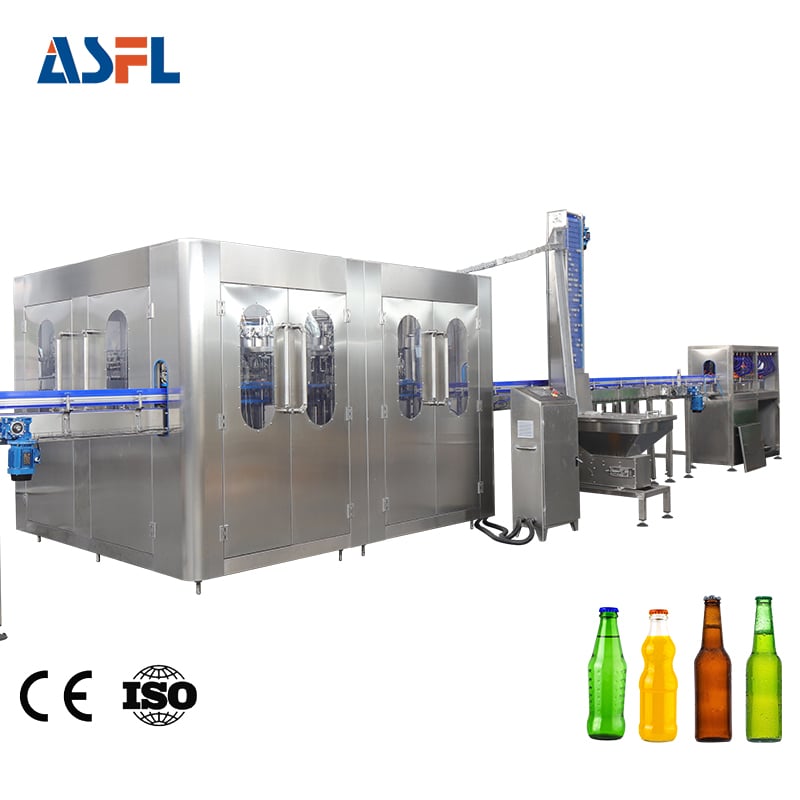
For a water filling machine, check cap orientation, hopper capacity, chute access, torque verification, and reject handling. Unstable cap delivery can limit the line.
3. Separate filler speed from line throughput
Do not select a water bottle plant machine from bottles-per-hour alone. Define saleable output per shift, operating hours, format mix, cleaning, maintenance, and acceptable rejects. Work backward to the required line rate, then size the filler and buffers.
A water bottle plant machine can run quickly in a demonstration but lose output if bottle blowing, labeling, inspection, or packing cannot keep pace. Review rated speed, normal range, design speed, and the conditions for each number.
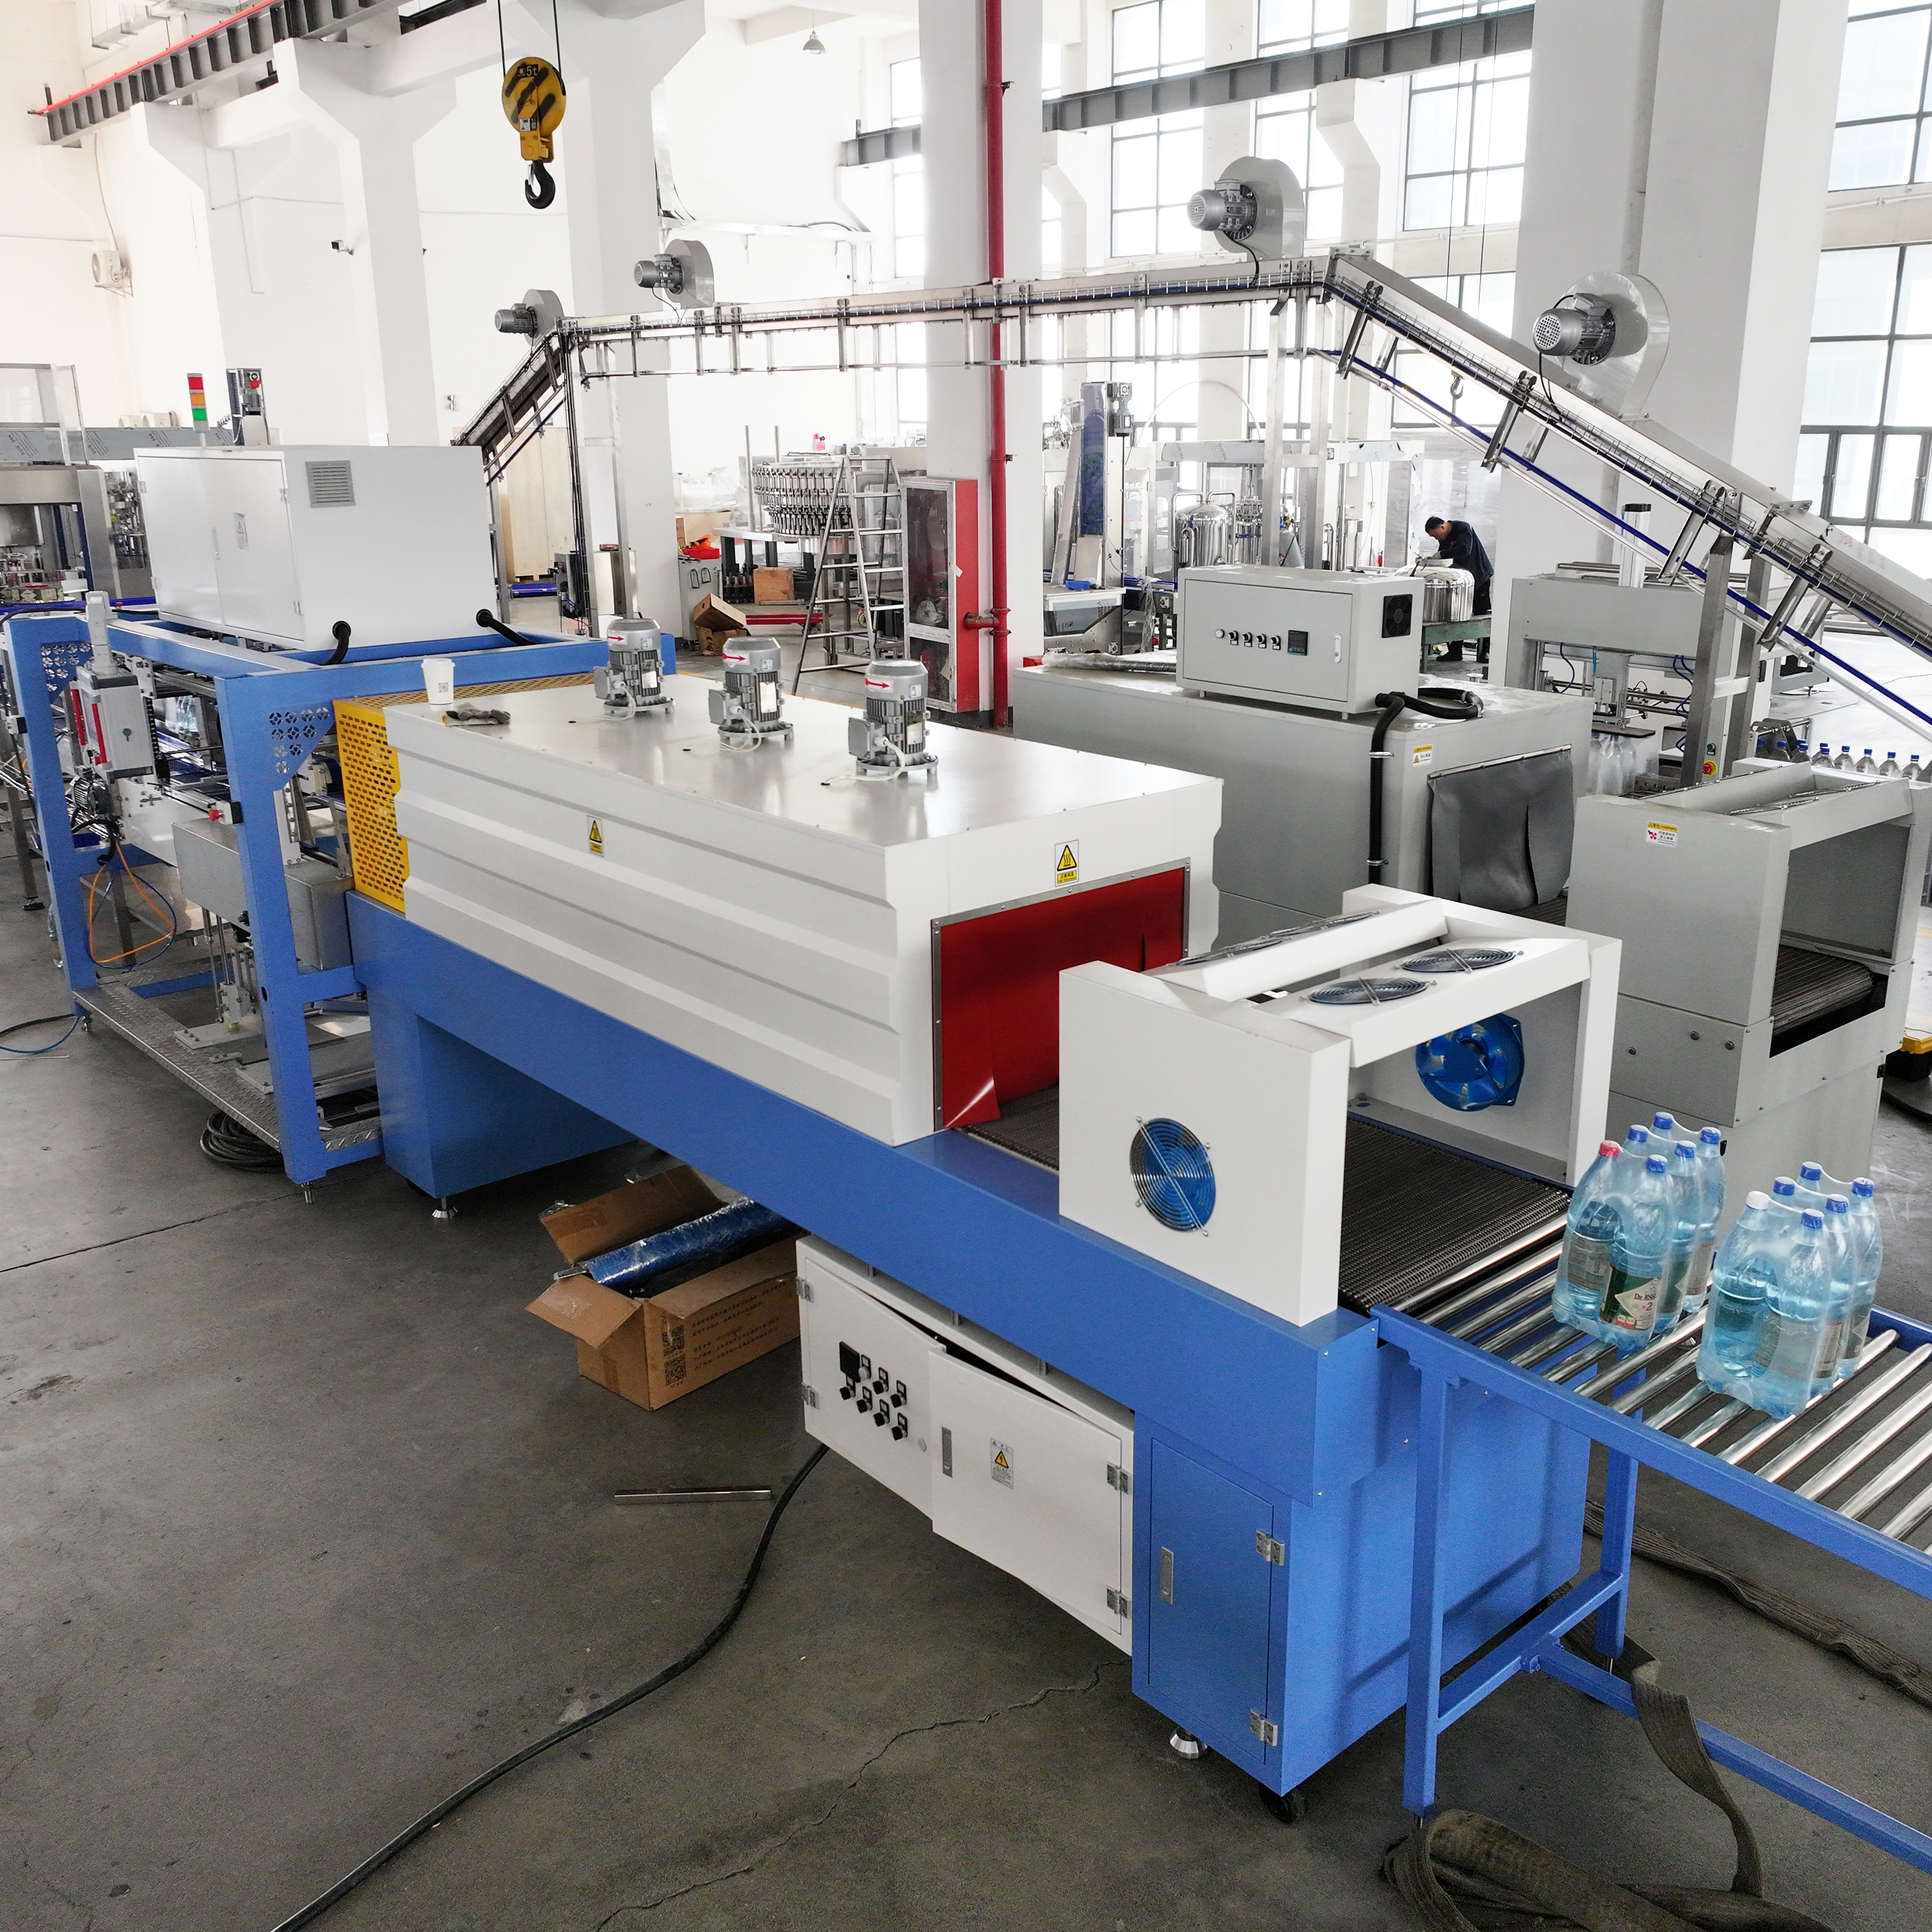
Review accumulation on both sides of the water bottle plant machine. The goal is a balanced line that recovers predictably after a stop.
4. Review hygienic design and cleanability
Assess the wetted parts of a water bottle plant machine for material, drainage, access, seals, and cleaning method. Ask which components contact product water and how cleanability is verified. Generic material labels do not identify every contact area.
As a U.S.-specific reference point, 21 CFR 129.40 says equipment must suit its intended use and product-water contact surfaces must be nontoxic, nonabsorbent, and adequately cleanable and sanitizable. Your water bottle plant machine should support the sanitation method your operation can verify.
Review clean-in-place boundaries with the supplier. Identify cleaning media, return paths, drain points, valves, recipe control, and records. Confirm any manual disassembly. A water filling machine that is difficult to inspect or drain adds operating uncertainty.
5. Check utilities, layout, and line interfaces
A water bottle plant machine needs more than floor area. Map power, compressed-air quality and demand, water, drains, ventilation, chemical handling, maintenance access, and walkways. Include routes for empty bottles, caps, labels, rejects, packed cases, and pallets.
Ask for an arrangement drawing with infeed and discharge elevations, conveyor widths, guarding, utilities, controls, and maintenance clearances. Put the water bottle plant machine into the layout early.
Clarify interfaces with the blower, treatment system, labeler, inspector, case packer, and palletizer. Define ownership of integration drawings, cable schedules, PLC communications, and site acceptance testing.
6. Turn quality controls into a test plan
List the controls required around the water bottle plant machine: fill level, cap presence, closure checks, visual inspection, coding, reject confirmation, and production records. Decide these before the purchase order.
Translate cleanable construction and maintainable contact surfaces into acceptance criteria for your water bottle plant machine. Specify rejected-bottle confirmation, failed-inspection records, line-stop alarms, and required production data.
Request a factory acceptance test using the agreed bottle, cap, and conditions where feasible. The water bottle plant machine protocol should state format, target rate, duration, allowed rejects, changeover checks, safety checks, and documents. Repeat the logic at site acceptance after adjacent equipment is connected.
7. Evaluate service, spares, and operating ownership
The purchase decision is not complete when the water bottle plant machine leaves the factory. Ask who will commission it, train staff, provide drawings, support troubleshooting, and supply spares. A water filling machine needs a clear list of wear parts, format parts, sensors, seals, and long-lead items.
Clarify electrical drawings, pneumatic diagrams, manuals, cleaning instructions, maintenance intervals, and software backups. For a new plant, put utility, commissioning, operator, and performance-test responsibilities in one schedule. Assign every water filling machine alarm and operating record to an owner.
A pre-purchase checklist for the project team
- Document water source, treatment route, product type, and applicable regulations.
- Approve bottle, cap, label, and pack drawings for every launch format.
- Calculate required saleable output rather than selecting the highest stated machine speed.
- Review wetted materials, drainage, cleanability, sanitation routines, and records.
- Validate utilities, plant layout, buffers, guarding, and integration responsibilities.
- Agree on factory and site acceptance criteria before ordering the water bottle plant machine.
- Include commissioning, training, documentation, and critical spares in the project scope.
Make the purchase decision easier to verify
The right water bottle plant machine matches the water process, package family, production plan, sanitation capability, and plant infrastructure. Start with the liquid and container, then test interfaces and acceptance criteria.
With that approach, speed becomes one verified input rather than the only reason to buy. The resulting purchase specification can guide design, acceptance, and start-up. It also gives the team a water filling machine checklist for future format changes.

 Hot News